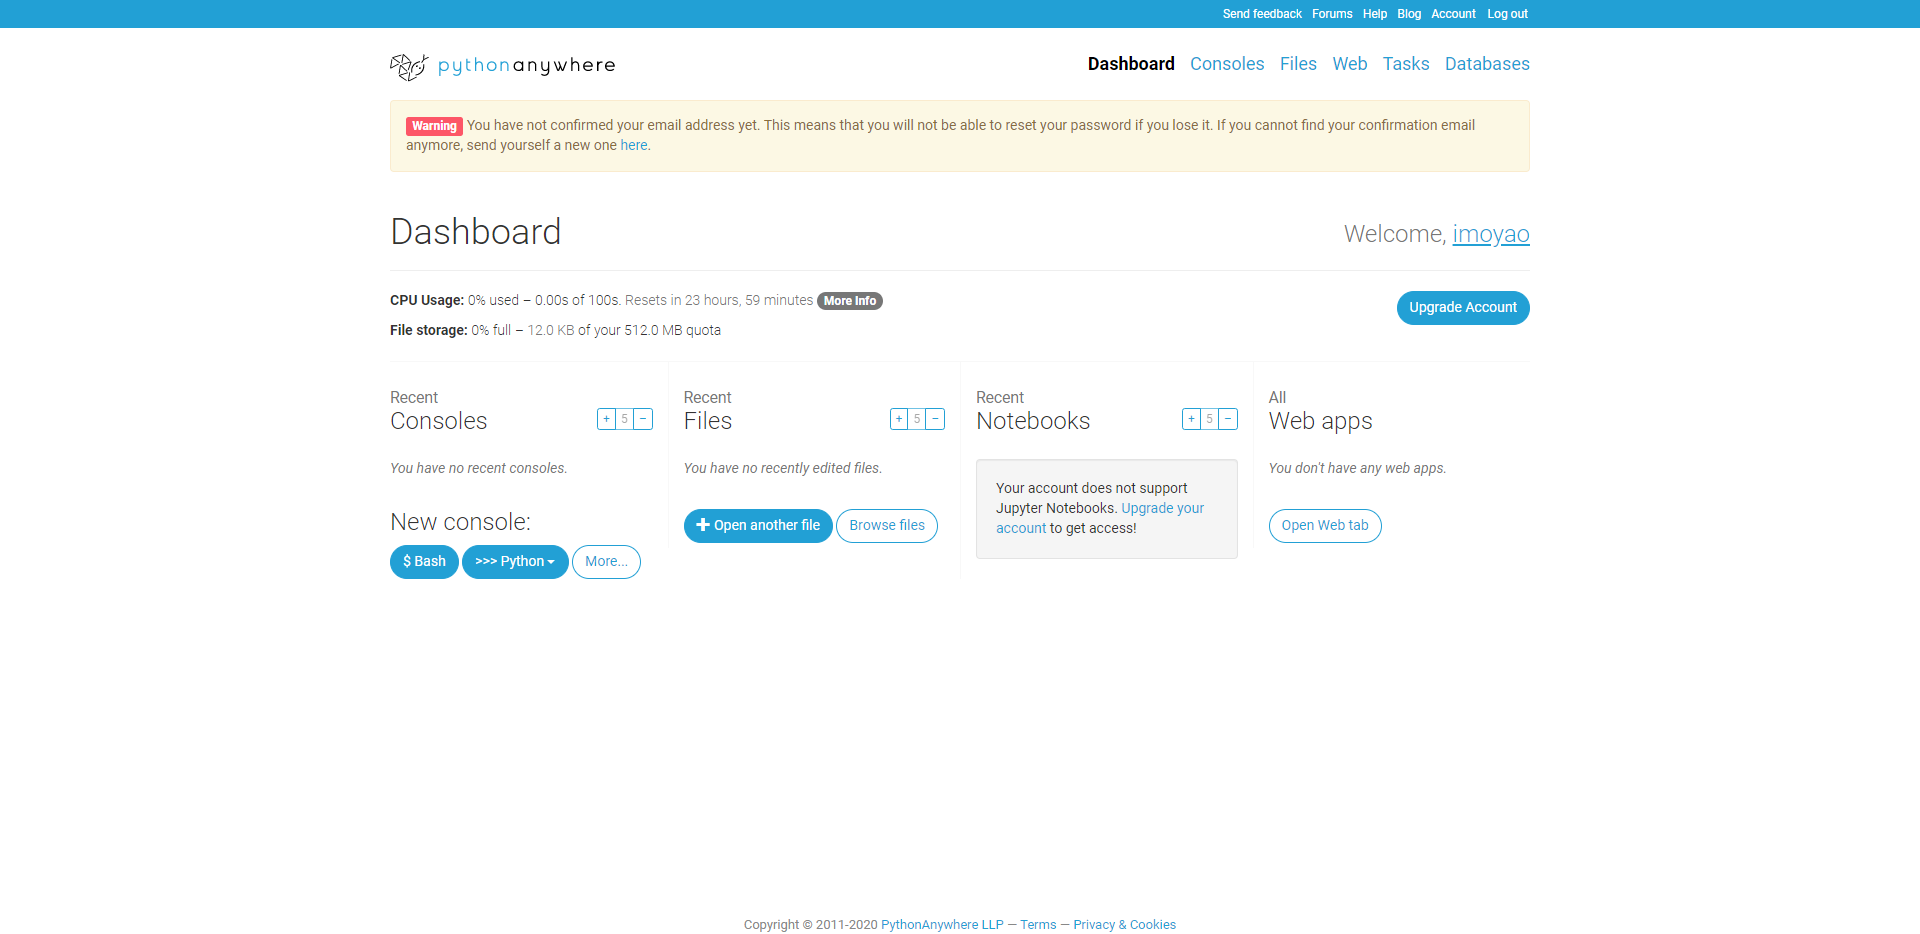
环境设置
注册账户
去 官网 注册账户
创建新的 web 应用
- 自定义域名
因为我们是白嫖党,所以不自定义域名,直接下一步 - 选择 Python 的 web 框架
因为书上说:Python Anywhere 默认提供 0.11 和 0.12 版本的 Flask,因为我们需要使用最新版,同时为了更灵活地定义其他设置,这里选择了手动配置
经过我的亲自尝试,目前支持 Flask1.1.1,如果我们不想自己配置,则可以使用该默认配置,而且里面也提供了 虚拟环境功能 ,可以自行配置 Flask 版本。
因为我是第一次部署,所以还是按照书上的顺序先尝试一下,直接选择使用手动配置,然后下一步。
- 选择 Python 版本
此处我们选择 Python3.7。然后下一步; - 确认配置
手动配置可以编辑/var/www/下面的配置,还可为你的应用指定虚拟环境
点击下一步。 - 验证
之后我们访问https://www.pythonanywhere.com/user/imoyao/webapps/即可访问 hello world 应用,其中imoyao位置填写你自己的用户名。
部署
- 进入 console
访问bash,将链接https://www.pythonanywhere.com/user/imoyao/consoles/bash/new中的用户名改为自己的 - 克隆代码由于这个在国外,所以我们不需要换源什么的就可以很快完成安装。
git clone https://github.com/imoyao/idealyard.git
- 创建数据库
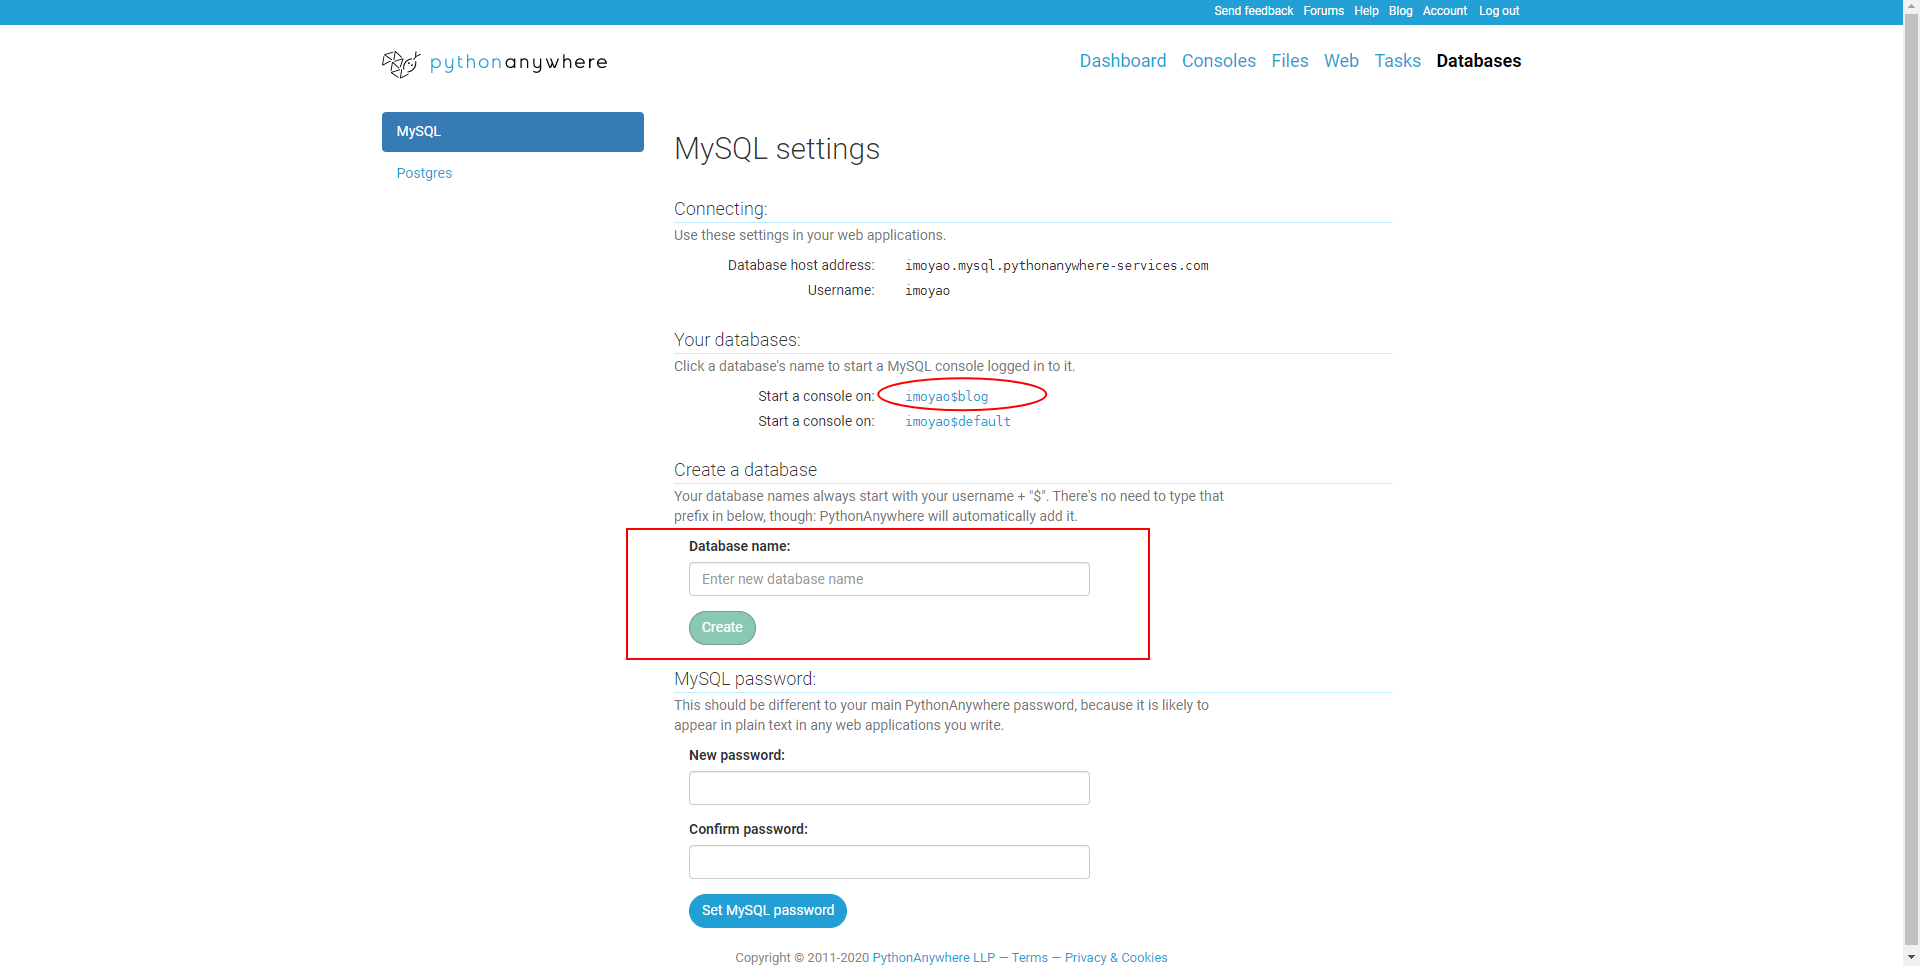
访问此处配置数据库密码,我们选择 MySQL 作为后端数据库,因为 Postgres 要钱。🤦♂️密码最好不要和你的用户名的登录密码相同。吐过不想使用默认的数据库,我们还可以使用自定义数据库名称。
- 安装 pipenv
pip3 install pipenv
- 安装 Python 依赖由于我们使用的是阿里云镜像源安装的包,这个上面好像没法连接(?),所以我们直接
cd idealyard
pipenv shell
(idealyard) 03:18 ~/idealyard (master)$ pwd
/home/imoyao/idealyardcd back使用pip安装依赖使用pip install -r requeriements.txt
pip list验证安装 - 设置环境变量路径配置到 web 选项的
(idealyard) 03:31 ~/idealyard (master)$ which python
/home/imoyao/.virtualenvs/idealyard--xXyk2CF/bin/python # 此处取/home/imoyao/.virtualenvs/idealyard--xXyk2CFVirtualenv处 - 编辑
wsgi.py配置# This file contains the WSGI configuration required to serve up your
# web application at http://imoyao.pythonanywhere.com/
# It works by setting the variable 'application' to a WSGI handler of some
# description.
#
# +++++++++++ GENERAL DEBUGGING TIPS +++++++++++
# getting imports and sys.path right can be fiddly!
# We've tried to collect some general tips here:
# https://help.pythonanywhere.com/pages/DebuggingImportError
# +++++++++++ FLASK +++++++++++
# Flask works like any other WSGI-compatible framework, we just need
# to import the application. Often Flask apps are called "app" so we
# may need to rename it during the import:
#
#
import sys
# The "/home/imoyao" below specifies your home
# directory -- the rest should be the directory you uploaded your Flask
# code to underneath the home directory. So if you just ran
# "git clone git@github.com/myusername/myproject.git"
# ...or uploaded files to the directory "myproject", then you should
# specify "/home/imoyao/myproject"
path = '/home/imoyao/idealyard' # 根据你的实际目录填写
if path not in sys.path:
sys.path.append(path)
from wsgi import app as application # noqa
#
# NB -- many Flask guides suggest you use a file called run.py; that's
# not necessary on PythonAnywhere. And you should make sure your code
# does *not* invoke the flask development server with app.run(), as it
# will prevent your wsgi file from working.配置环境变量
vi .env
MYSQL_USER=xxx      # 数据库用户名
MYSQL_PASSWORD=xxx  # 数据库密码
MYSQ_DB=xxx         # 数据库名称